Time and weather changes can make a good paint job age and appear shabby. The only way to restore its appeal is with touch-up painting.
Deciding that a surface requires touch-up paint is the easiest part. Then comes the hard part, folding your sleeves and getting the job done.
If not done correctly, new touch-up paint will make the surface blotchy and possibly worse than it was before.
In this article, we detail how to touch up paint that was sprayed on like a pro and help you transform your spray-painted surfaces into something you are proud of. Let’s delve right in!
How To Touch Up Paint That Was Sprayed On
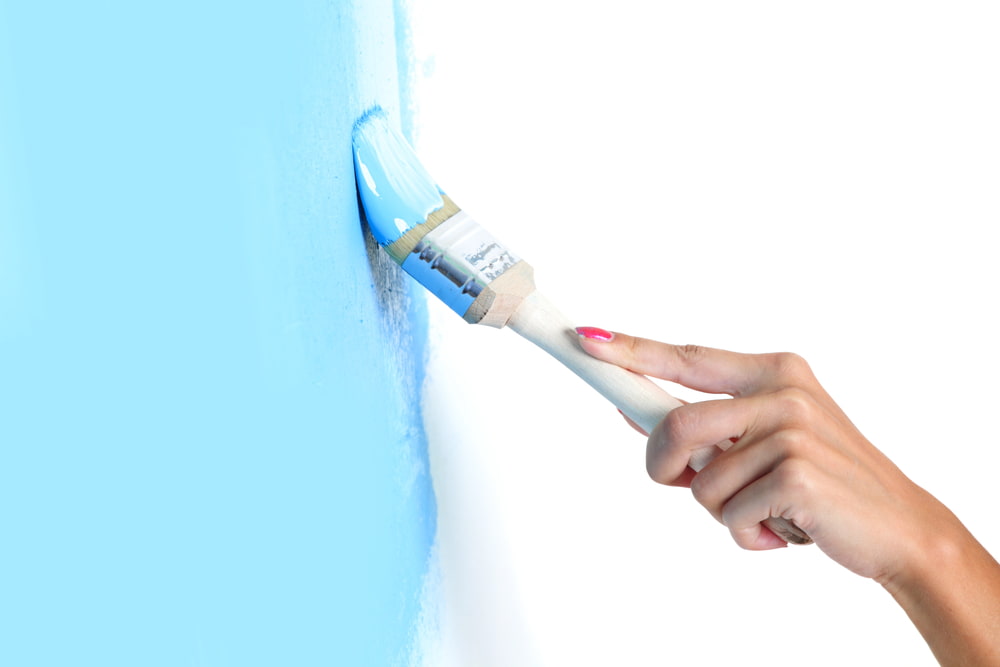
Touching up paint that was sprayed on won’t be a walk in the park. However, it is doable with the proper equipment and the right attitude. Depending on what you are comfortable working with, you can use aerosol or brush-on touch-up paint. Whichever touch-up paint tickles your palate, it still needs to blend flawlessly in color and sheen.
What to do before touching up spray paint
Before you dive into it, there are several preparations you’ll need to take, such as:
Clean the target surface
Wipe the surface with a damp rag to remove rust, mildew, flakes, dust, leftover paint, and debris. Painting over particles negatively impacts the paint adhesion.
Give the surface a good scrub with soap and water, then rinse it with clean water. Let the area dry completely.
Test the paint
Test the sprayed-on coat by rubbing spots with your fingernails, and if the paint peels off, you must scrape it off. When you paint over fragile paint, the touch-up paint will peel off in a couple of days.
Test the color of the touch-up paint as well and ensure they merge with the underlying spray-on coat of the first paint.
Sanding
You’ll need to sand the sprayed-on coat of paint with a fine grit sandpaper for it to bond with the touch-up paint. If you skip sanding be sure your surface will demand additional repairs in the near future.
Check weather conditions
Pick a good day to work on your project. The temperatures must be just right, with no rain and moderate humidity levels. Temperatures and humidity influence how the paint and primer levels and dries.
If you are working indoors, ensure the air is dust free and adjust the room heater accordingly. Invest in a quality dehumidifier in humid areas, as too much moisture will cause the touch-up paint to bulge. Other alternatives are moisture absorbers or air purifiers.
Buy a primer
Buy an excellent primer to increase adhesion between the existing and new coats. You can buy a spray-on or brush-on primer, depending on your preference.
The Best Way To Touch Up Paint That Was Sprayed On
Below is a step-by-step procedure on how to touch up spray paint
Supplies You’ll Need
- Sandpaper
- Primer
- Brush-on or spray-on touch-up paint
- Painting brush
- Protective gears (PPEs)
- Tack cloth
- Damp rag
- Wax and grease remover
- Drop cloth
- Scotch Brite
STEP 1: Select matching paint
Purchase high-quality paint irrespective of whether it’s spray-on or brush-on. Aim for mid-grade paint or above that, as it tends to have better adhesion and is more durable than low-cost paint.
Select the same paint, similar brands, finish, and color to the paint you are repairing for better results. Selecting the right paint for the touch-up will save you time, effort, and money.
Test the color match beforehand on an inconspicuous spot on the surface. A color match guarantees that the two coats will blend evenly.
STEP 2: Choose a good day for the repainting
Choose a conducive day to work on your project. The temperatures should be 500F-950F (100C-350C), mildly humid, and no rain.
Paint dries very quickly in warm weather and slowly with high moisture. While you can paint in winter, you’ll need to know various ways of painting in cold weather for a successful paint job.
STEP 3: Test the paint
Test the paint before applying it on the surface to ensure the existing and new paint won’t react poorly.
Evaluate the state of the damaged paint to determine whether it can bond with another coat, or you’ll need to strip it off. Some parts on the painted surface tend to have more chippings and flakes than others. Clean all that up before you get painting.
STEP 4: Prep the working areas
Prepare your working space by spreading a drop cloth and taping down areas you don’t want paint on.
Wear your protective gear, as most paints have toxic fumes.
STEP 5: Sand the painted surface
Scuff the entire area. It would help to use a Scotchbrite or fine grit sandpaper, and as you sand, determine whether the surface has rust. A sprayed-on with rust bubbling underneath is too far gone for touch-up paint.
Apply a rust arrestor on the chipped areas before touching them up to prevent rust from spreading in the future.
STEP 6: Remove the dust
Wipe off the dust with a tack cloth or damp rag soaked in mineral spirits. You can use a vacuum to blow off the dust.
STEP 7: Apply a primer and let it dry
You probably applied a primer before spraying on the older paint, and you should do the same with the touch-up. A primer helps make the surface appear flawless. Also, it promotes adhesion between the two coats and increases paint durability.
Primers tend to shrink as they dry, so you should let them dry completely before proceeding.
STEP 8: Repaint the surface and let it dry
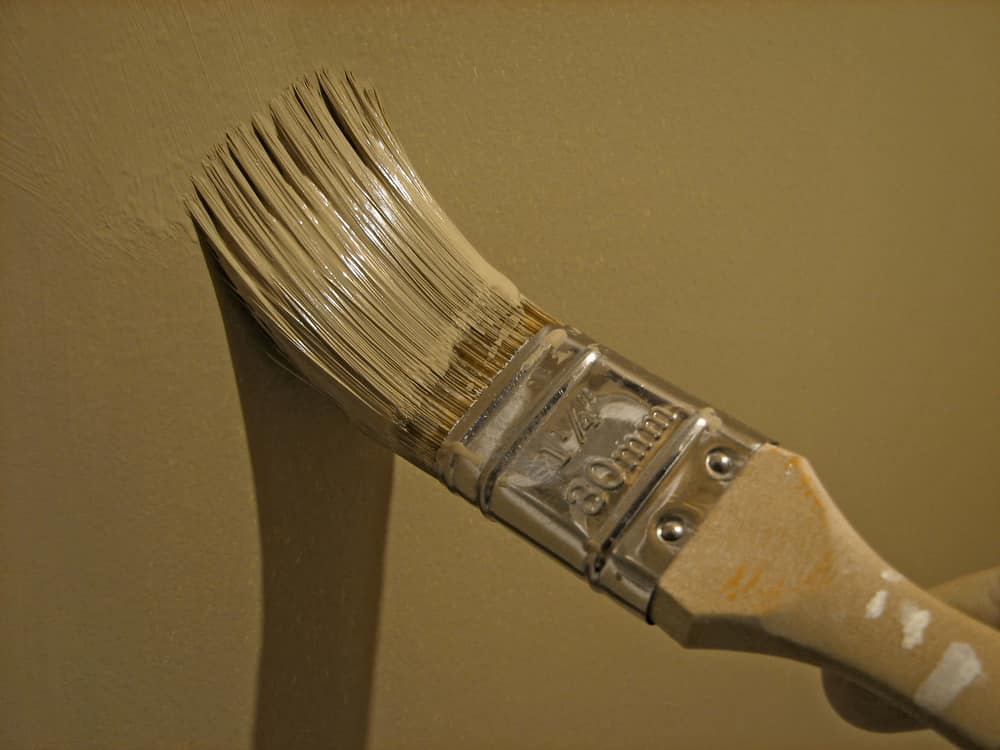
If you decide to use a brush-on, first thin the paint. Use a paint thinner with oil-based paints and water on a water-based paint. After you have the paint in the right consistency, start painting. Using a high-quality paint brush, make even stroke over the surface.
Use the tipping-off technique to make surfaces smooth. Don’t be afraid to overlap while keeping a wet edge to make the finish smoother. Also, you can use a roller instead of a brush.
With an aerosol touch-up or when using a touch-up paint sprayer, apply even coats in sweeping motions. Keep the distance between the nozzle and the surface consistent. Remember to feather the paint when working on the edges.
STEP 9: Add a second coat of paint
After the paint is dry, you can apply your second coat. Ensure the coats are thin for better adhesion. Your second coat can be clear paint to give your project a shiny finish. The second coat is optional.
STEP 10: Let it dry
Let the surface dry for at least 24 hours. Keep it free from dust and adjust the thermostat or room heater for the paint to dry under the proper temperatures.
Pro Tips On How To Touch Up A Spray-Painted Surface?
- Match the texture on both coats by applying thin layer and painting along the same direction as the older paint.
- Fix the insulation in your house to prevent the condensation of cold air, which forms water droplets on wet painted surfaces. Moisture makes painted surfaces peel.
- Paint under the correct temperatures and humidity to prevent the formation of spider veins and whitish haze or streaks on the surface.
- Be careful not to create paint drips and streaks. However, sometimes errors occur, and when they do, don’t brush over imperfection. Instead, wait for the paint to dry and sand off before recoating.
- When painting on non-metallic surfaces, use an adhesion promoter. Follow the layer with a primer before you add the paint.
How Do You Fix Imperfections In Spray Paint?
Mistakes are sometimes inevitable; here is how to fix them:
Sanding: If you have paint drips or spots on the surface, the best way to remove them is to wait for the paint to dry and sand over them. Sanding is the easiest way to get rid of paint streaks and brush marks. Sand till the surface is even, then remove the dust.
Repainting: Repaint the exterior after sanding the imperfections and wiping the dust with a tack rag. The second coating covers up the blemishes leaving the surface smooth and perfect.
Filling: Sometimes, the surface has visible nail and rusts holes. You can fill those up with putty or filler to paint over the area to cover up the defects.
FAQs: How To Touch Up Paint That Was Sprayed On
Here are answers to some of the frequently asked questions regarding touch-up spray painting:
Will the touch-up paint blend in?
It’s a 50/50 chance; sometimes, it dries and blends in, while others don’t. To avoid that, test the color match by mixing the old and new paints and confirm whether they merge after drying. It can take you two weeks to judge whether the touch-up paint was a good call. With the right tools and materials, the touch-up turns out quite well.
Can you touch up spray paint with a brush?
Yes, you can. Buy the brush-on touch-up paint. You’ll need to mix the paint with thinner for a great consistency before applying. When working with a brush, match the texture and follow the brush pattern of the old coat. Apply a thin light coat to avoid bubbles and drips on the surface. Also, use a primer below your first coat for better adhesion.
Why isn’t my touch-up paint matching?
Your paint won’t match because of low temperatures, moisture, dirt particles, lack of sanding, low-quality paint, poor application technique, and not testing the paint beforehand.
How many layers of touch-up paint?
One to two layers will get the job done. However, the number of coats you can add depends on you and the recommendations from the paint manufacturer.
Can I touch up the paint without sanding?
Yes, you can, but it beats logic. Sanding helps remove flakes, stains, and blemishes on the existing paint job. Also, sanding promotes good bonding between the old and new paint layers. Skipping the scuffing step means your touch-up will need repairs sooner rather than later.
Final Thoughts: Touch-Up Spray Painting
The downside of touch-up spray painting is that the surface may dry, leaving you with a conspicuous paint swipe that looks completely different from the rest of the area. To add salt to the injury, you let the paint cure for a month and still see no change.
This article has addressed how to combat the possible challenges you’ll face during the project. Also, we have detailed how to achieve a flawless touch-up paint job. Please share your experience with us in the comment section. Good luck with your project.