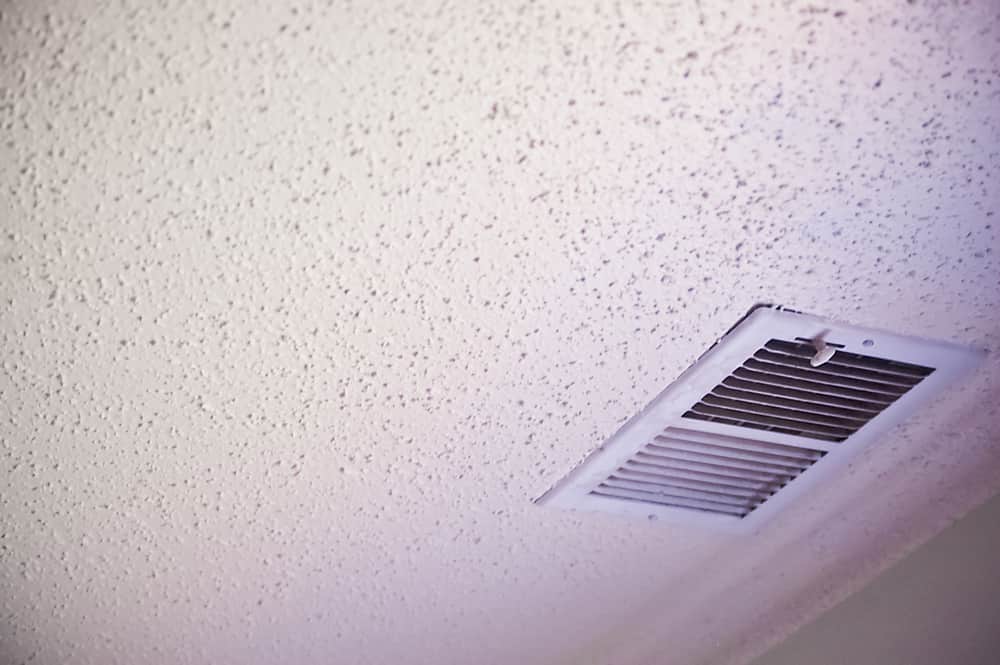
Is your popcorn ceiling in need of a fresh coat of paint? The good news is that this is something that you can handle as a DIY project, and you do not have to hire a professional painter.
But what is the best way to paint a popcorn ceiling? And can you spray paint popcorn ceiling surfaces?
Well, all this and much more is what I will cover in today’s post. So stay tuned and learn the basics of painting popcorn ceilings, along with a proven step-by-step process I use to paint popcorn ceilings with a sprayer!
Can You Spray Paint Popcorn Ceilings
Yes, spray painting popcorn ceilings (also referred to as acoustic ceilings) is possible. In fact, ceiling paint is much easier and quicker to apply with a sprayer than other conventional equipment. With the right prep work, you can quickly spray paint a popcorn ceiling without hiring a professional.
What kind of spray paint is good for popcorn ceilings?
The best paint for popcorn ceilings is acrylic paint. The acrylic paint comes in various finishes, but I recommend using a matte or flat finish to reduce light bounce.
Eggshell, semi-gloss, and satin high-quality paint finishes are a great choice to protect the surface against moisture and humidity; for example, ceilings in your bathroom. Check this comprehensive Acrylic paint review to select the best acrylic paint for your popcorn ceiling painting project.
Which method do I use when painting a popcorn ceiling (rolling vs. spraying)?
You should always use a sprayer to paint your popcorn ceiling. This is mainly because a sprayer will make the whole process quicker and easier than when using a roller.
In addition to this, rollers tend to leave more mess than sprayers. Spraying will also give your popcorn ceiling a better-finished look compared to rolling.
Step-by-step guide on how to spray paint a popcorn ceiling with a sprayer
Supplies and equipment you might need
- Spray paint and primer (acrylic or latex paint)
- Plastic covers, plastic tarps, plastic sheeting, or drop cloths-to cover light fixtures, walls, floors, windows, etc.
- Airless sprayer (a vibrators type paint sprayer would be ideal if you have one).
- Brush for touching up corners.
- Orbital sander with vacuum and elongated handle.
- Soft brush attachment.
- Painter’s tape or masking tape to hold the plastic covering material.
- Popcorn ceiling textured repair/textured ceiling treatment paint (if needed).
Step 1: Select the right paint
Before you go any further in trying to paint your popcorn texture ceiling, you must ensure that you have the right paint for painting popcorn ceiling use.
While this might seem like a no-brainer, it is puzzling how many people use the wrong type of ceiling paint for their DIY projects.
Painting your bathroom popcorn textured ceiling will require paint with different specifications than a living room ceiling.
Here is what I mean. You have to ensure the paint can withstand humidity to ensure it does not peel.
While moisture and humidity resistance may not be a big concern when painting your living room ceiling, it should be when dealing with a bathroom ceiling.
So, select the paint and primer specific to the conditions the ceiling will be exposed to.
Make sure the paint you use is specifically manufactured for painting popcorn ceiling use and can be used indoors.
It is also important to choose a paint and primer compatible with each other – use products from the same brands if possible.
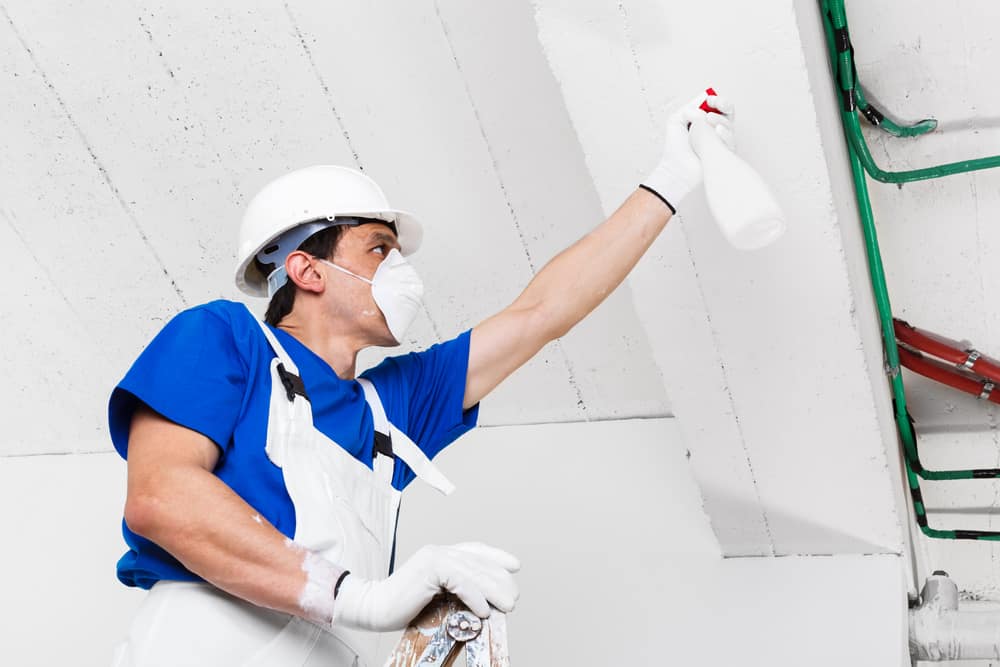
Step 2: Prep the work area
I cannot stress enough that prepping the work area is vital, especially for painting popcorn ceiling projects.
If you are painting the ceiling for the first time, the walls have yet to be painted, and nothing is in the house, it will be much simpler. All you have to do is cover any windows and other fixtures so they do not get painted.
However, when painting a room that is already being used, it is a whole different ballgame.
First, cover the furniture and other things inside the room or move them to a different room.
If you opt to cover the items, I recommend using clear plastic covers or drop clothes – good products I use are the Loobani plastic covers.
After you cover all the items in the house, you should also cover light fixtures, windows, floors, walls, and anything else you do not want paint on. You use masking tape or painter’s tape to hold up your sheeting.
Quick Tip: Remember to move or arrange the things you covered so you can move freely when spray painting and cover every part of the ceiling. You may also opt to remove light fixtures instead of covering them. However, if you want to spray paint light fixtures on the ceiling with same paint as the ceiling, then you only need to cover parts on the fixture that should not get into contact with the paint like the reflector.
Step 3: Cleaning and prepping the ceiling
Cleaning is crucial before you start your painting project. You can easily do this by gently vacuuming the popcorn ceiling using the soft brush of your vacuum cleaner or using a feather duster to remove dust.
Ensure you get all the dirt, cobwebs, and dust from the ceiling.
After cleaning, check the textured ceiling for uneven texture, such as dents and chips. If none exist, you can move to prepping the surface.
However, if this is not the case and there are dents, peels, cracks, and other imperfections that need addressing, then make sure to do so, as they can significantly affect the final results.
You can use a drywall knife to scrape any parts that require it. You can then apply a thin coat of joint compound to the areas you worked on.
After this, you should lightly sand the entire ceiling surface. I love Aya Tech’s orbital sander with a handle extension and vacuum.
You may repeat the above process until you have a uniform surface.
After sanding, if you notice that the ceiling does not have its popcorn texture, you can apply a thin coat of textured ceilings spray-on treatment (popcorn ceiling repair spray paint).
After it dries, you can now apply a thin layer of primer.
Now, let the primer dry completely before you can start spray painting the color you want your final ceiling to have.
Quick Tip: Yes, a primer is essential. In my experience, spray painting this type of ceiling without priming means the ceiling will absorb too much paint. The excess paint can soak the ceiling and even make it fall off.
Step 4: Spray painting the ceiling
Start by spraying the ceiling edge around the entire room. Ensure you are careful and spread the paint evenly across all the edges. You can use a brush if you find it difficult because of the corners.
Next, spray paint the entirety of the remaining ceiling, ensuring that the paint is spread evenly throughout the entire surface – do not use too much pressure when pressing the sprayer.
To make this easier, I usually start from one end of the ceiling and go to the opposite direction and back as I move across the room. I follow this pattern until the whole surface is painted.
After it dries completely, I return with a second coat starting from the last place I finished off, moving in a reverse pattern, and finishing with where I had started the first coat.
Quick Tip: Remember to use thin coats of paint to avoid soaking the ceiling and any drips. Please remember this, especially if you will apply three to four coats.
Step 5: Let the paint dry completely
When applying multiple coats of spray paint to a popcorn ceiling, you should always let each coat dry off completely before applying another one.
This will help you avoid over-spraying the surfaces and soaking and dripping.
Once the paint job is done and dry, give the room about 72 hours before you move in, or start using it again. You can apply other tactics that allow the spray paints to dry faster if you can’t wait for 72 hours to start using the room again.
This will let the paint dry and cure properly, completely dissipating harmful fumes.
How to clean a popcorn ceiling after spray painting
After spray painting your popcorn ceiling, it will likely get stains. So how do you clean these stains?
Well, there are three options depending on the type and stubbornness of the stain in question. Let us take a brief look at these options:
Easy Stains
For easy stains, you can use liquid dishwashing soap and warm water. This mixture is very effective when dealing with normal stains.
Use a soft sponge or thick and soft paint roller to apply your cleaning mixture.
Just ensure your roller or sponge is damp and not wet – wring out the excess liquid. Clean the affected area gently and be careful not to damage the texture of the ceiling.
Water or mildew stains
Mix equal parts of water and bleaching agent in a misting bottle.
Spray a light coat of the bleaching solution over the stain area and let it dry out. If, after drying, the stain is still visible, you can spray an additional coat over the area.
Safety tip: Always wear safety glasses to protect your eyes when spraying this solution.
Set-in stains
When dealing with set-in and stubborn stains, the best option is to repaint the popcorn ceiling.
Use a stain-blocking and oil-based primer to prep the ceiling surface before you repaint it using acrylic spray paint.
What safety safeguards should I take when spray painting popcorn ceilings?
Wear safety equipment
Wearing protective clothing is a good way to protect yourself from the harmful volatile organic compounds (VOCs) in spray fumes. Ensure your mask, gloves, and goggles work correctly before wearing them.
Work in a ventilated area
Working in a ventilated space will ensure the fumes dissipate quicker, limiting the time you can be exposed to them.
Keep children and pet away
Due to the toxicity of fumes, you should ensure there are no children and pets close to where you are spray painting.
Know what to do in case of an emergency
While taking all the above measures will greatly help prevent emergencies, it is still important to familiarize yourself with emergency procedures that can help you in a worst-case scenario.
Common problems when spraying The popcorn ceilings
Runs and drips: Runs mostly happen when spraying vertical walls. However, they can still happen around the corners of ceilings. Paint drips are more common and can be caused by overspray, especially when painting popcorn ceilings with airless sprayers with a portable paint reservoir.
Uneven paint coverage: There are various reasons, like lingering over other spots more than others and using the spray-and-stop technique instead of spray painting in one sweeping motion from one end to another. It can also be caused by frequently changing the sprayer’s angle and distance from the surface while still spraying.
Clogging: Clogging can be a nuisance when painting ceilings because you usually hold the spray tip upside down. To eliminate this problem, clean the spray tip mechanism now and then during the painting process.
Overspray: Avoid spraying a particular spot for an extended duration to prevent overspray.
Splattering: In most cases, paint splatters will happen when you hold the spray gun too close to the ceiling surface. Hold the spray gun the recommended 8 to 12 inches away from the surface, and you can avoid this problem.
FAQs – Can You Spray Paint Popcorn Ceilings
Can I use a paint sprayer to paint my popcorn ceiling?
Yes, you can use a vibrator type paint sprayer when painting a popcorn ceiling. An airless sprayer is one of the best tools for painting popcorn ceiling projects quickly. An airless paint sprayer is faster and easier than a brush or roller.
What is the best paint for painting popcorn ceilings?
The best paint for popcorn ceilings is acrylic-latex spray paint. The acrylic paints come in various finishes, but I recommend using a matte or flat finish to reduce light bounce. Eggshell, semi-gloss, and satin paint finishes are a great choice to protect the surface against moisture and humidity; for example, ceilings in your bathroom.
Can I use a roller to paint a popcorn ceiling?
Yes, a roller can be used to paint a popcorn ceiling. However, remember to use a slightly heavier roller. You can mount the roller on an elongated handle attachment to make painting much easier.
Between using a roller or a paint sprayer, which is better when painting a ceiling?
A spray gun is a much better option for equipment when painting popcorn ceilings than a roller. The sprayer will complete the task faster than a roller and is less tiring. Also, paint wastage is at a minimum when using a sprayer.
Which is the best method for painting a popcorn ceiling in the least amount of time?
Spray painting is the quickest way of painting a popcorn ceiling. If you use the right equipment, spraying will generally take the least time than using a brush or roller. Spray painting is easier and less messy than a brush and roller.
How much does it cost to remove a popcorn ceiling?
The cost of removing popcorn ceiling can vary depending on the professional and the type of ceiling (whether it contains asbestos or not).
The cost can range from just under $1000 to about $4000. The typical cost per square foot is around $4 to $8. This includes prepping, labor costs, and supplies used in the removal process.
Content Summary
Using a sprayer to paint your popcorn ceiling will make the process much quicker and easier than a roller or brush.
However, I recommend following the prepping and step-by-step instructions above to ensure a good finish for your painting popcorn ceiling DIY project.