Spray painting a Yeti cup is an excellent way to add a personalized touch and improve the appearance of your old-looking and rusty tumbler.
Not only does it allow you to express your creative side, but it also offers a cost-effective option for buying a new cup.
Following the proper procedures and utilizing the correct paints is essential to achieve a long-lasting, professional-looking finish. You can get your yeti cup painted by a professional or do it yourself.
In this comprehensive guide, we will take you through the step-by-step process of how to spray paint a Yeti cup, highlighting the essential tips and requirements for painting stainless steel tumbler easily.
Can you spray paint a Yeti cup
Absolutely! By following the correct procedure and using high-quality paint for yeti cups, it is possible to color and cover your yeti tumbler with unique patterns and designs. Spraying your Yeti cup improves its appearance and protects the cup’s original material for you in the long haul.
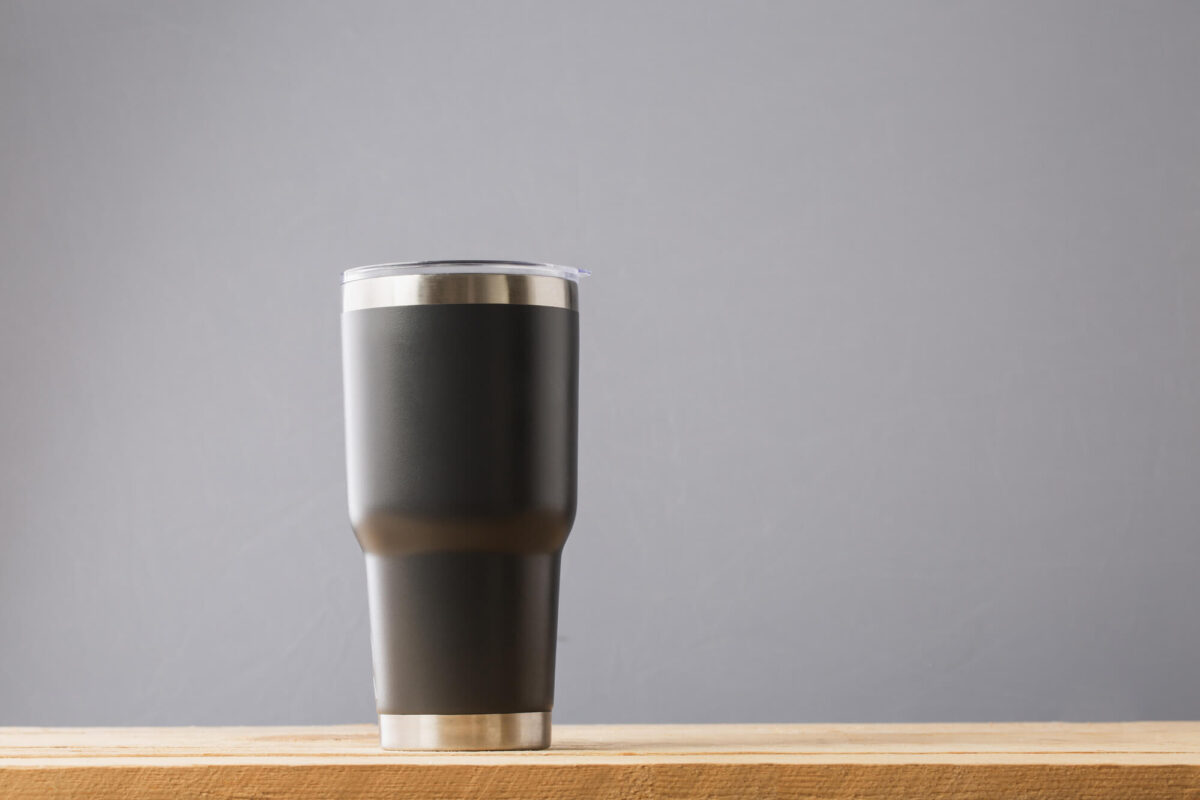
What is a Yeti Cup?
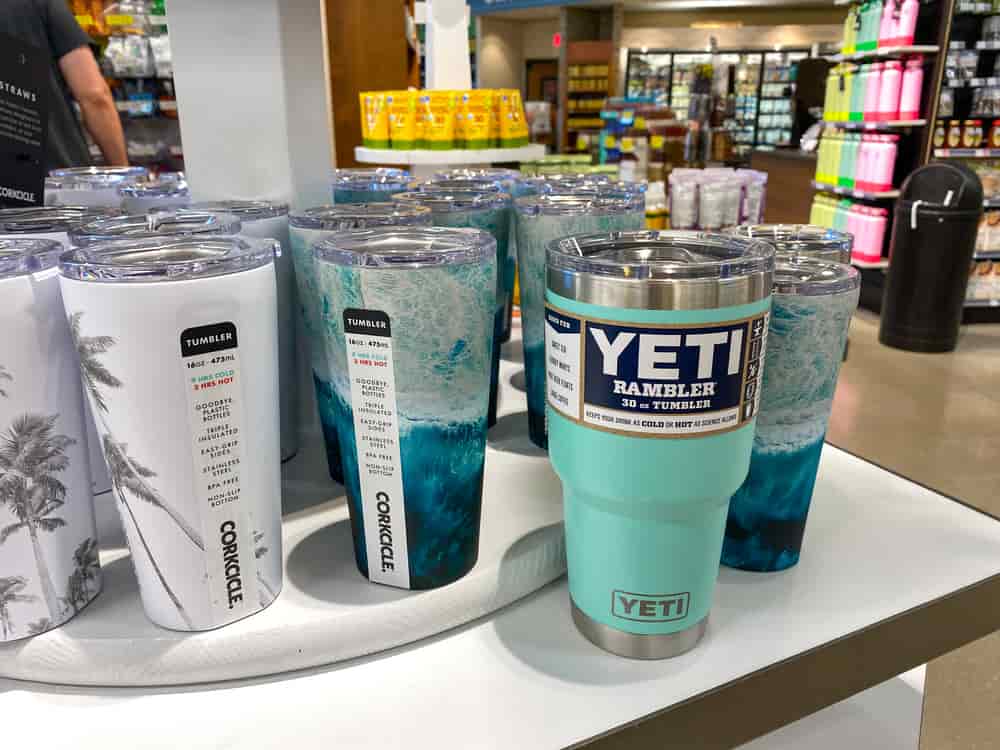
The Yeti cup, also known as the Yeti Tumbler or Yeti Rambler, is a highly sought-after brand of insulated drinkware for many households. It is specially designed for those who enjoy their hot drinks hot and their cold drinks cold, for extended periods.
Behind the infamous cups, Yeti creates top-quality outdoor products, including drinkware, coolers, and outdoor accessories.
The stainless steel mug is crafted from durable stainless steel and has double-wall vacuum insulation. This key feature helps it to maintain the temperature of the liquid/beverage inside. The insulation allows the cup to keep drinks at the desired temperature for hours, whether hot or cold.
It is a favorite among outdoor enthusiasts and is perfect for camping trips, road trips, or even everyday use.
Additionally, the Yeti cup has a sweat-proof exterior and a clear lid with a drink opening. It is also available in a wide range of sizes and colors that you can choose from.
As a plus, the stainless steel tumbler is built to be tough, rugged, and withstand impact and external pressure, making it ideal for extreme sports and outdoor adventures such as hikes.
The Yeti Cup has become increasingly popular thanks to its quality and performance.
If you are searching for a durable stainless steel tumbler that gets the job done, the Yeti Cup is a must-have.
How to Spray Paint a Yeti Cup or Ozark Tumbler Easily
What you will need
- Ozark tumbler or Yeti mug
- Food safe spray paint suitable for metal surfaces
- Painters tape
- Sandpaper (fine grit)
- A clean cloth
- Rubbing alcohol or mild detergent and
- Gloves
- Masking tape
- Paint brush
- Rubber band
Preparing the Yeti Cup
1.Cleaning the Cup
Before you apply color to your Yeti cup, you need to prepare it. Remove any stickers or residue using a scraper.
Clean the cup with soap and water to remove dirt, grime, or grease on the inside and outside. Rinse it thoroughly under running water.
Then, apply rubbing alcohol to remove oils or dirt and let the cup dry completely. Afterward, use a towel or cloth to wipe off any excess moisture.
Any residue moisture on the cup will prevent the paint from adhering correctly during and after application.
2. Sanding the Surface
Using the fine-grit sandpaper, sand off the surface gently. Sanding the surface will create a rough texture important for the next steps in the application stages.
Paint adheres better on a rough surface. Wipe off the excess dust and particles with a clean cloth.
3. Masking and Protecting
Cover any areas on the cup you do not want to paint using painter’s tape. The spots may include the handle, the bottom, the top rim, and any other texts, such as logos on the cup, that you want to preserve.
The tape acts as a protective cover for these areas by shielding them from any accidental overspray or paint splashes.
Alternatively, cover the top with a plastic zip lock bag. Use the covered lid to seal the cup’s opening.
Remove the painters tape after you finish the entire process to reveal the unpainted area.
4. Preparing the Workspace
Painting Yeti cups can be messy. You can paint outdoors or in a large, spacious, and well ventilated room.
Ensure the surface is clean and accessible by removing any dust or debris in the area. Protect the workspace by covering it or using a canvas drop cloth as your work surface.
Place the stainless steel cup upside down to prevent paint from getting inside.
Ensure that you work in a well ventilated area and always wear the proper PPE, as the paint fumes are harmful.
Applying the Spray Paint
Applying Vinyl Decals
Vinyl decals act as a stencil for the process. It allows you to create patterns and designs, including plants, animals, and your favorite team’s logo.
Applying Primer
As the first coat, apply a primer designed for metallic or stainless steel surfaces. Hold the primer can about 8 inches away from the surface of the cup and spray a thin layer evenly.
Ensure the primer covers the entire surface of the mug and let it dry out per the manufacturer’s guidelines.
Once dry, use fine grit sandpaper to sand off the primer for better coverage and an even coat. Sanding helps the base color adhere to the surface of the yeti cups even better.
Applying the Base Color
Apply the base color in the same way as the primer once it is dry and sanded off. Shake the can well and hold it at a distance of about 6-8 inches away from the cup’s surface.
Let the paint dry. Then, apply additional coats giving enough drying time between each spray. The base color should be the exact shade all through.
Creating Designs or Patterns
Once you have applied several coats, let the paint dry completely, you can add creative designs to your cup using a paint brush. Ensure that the previous coats are dry, which may affect how well you draw the patterns/details.
This can be done using a can /distance spray paint, stencils, or freehand painting.
If you are using stencils, place the stencil onto the surface of the Yeti cups. Use tape to hold the stencil in place. Use a different paint color to spray over the stencil.
Avoid spraying too much paint at once, resulting in drips and runs.
If the initial coat is too light, apply a second coat. Wait for the paint to dry before removing the stencil.
If you freehand paint the patterns/details, use a small brush, paint markers, and a steady hand to create your desired designs. Alternatively, you can use diverse colors or paint markers to create a more complex blended design.
You can also apply a lighter color with a different tool for more variety and additional coats of color on already painted parts.
Add one coat of glitter to your hydro flask to create glitter tumblers. Adding a spray sealer locks in the glitters.
Also, a coat of spray sealer on the glitter tumbler protects the layer of the vinyl decal. Let the sealer dry completely before using the glitter tumbler.
Adding Finishing Touches
Once you have added the desired details or patterns, it is time to finish your cup. You can opt for a smooth finish. For instance, if you use oil based paint, you can apply one or two layers of clear coat.
The coats protect the design/patterns and add a glossy finish to the exterior. After this, set the mug aside, giving the coat time to dry.
Ensure the final coat is completely dry before using the Yeti cups.
Additionally, apply a clear sealant or epoxy resin if you use liquid paint. The clear, even coat protects the design and gives the stainless steel mug a smooth, glossy finish.
We advise you to follow the sealant or epoxy resin packaging instructions for the best results.
How Do You Get The Best Paint Finish With a Yeti Cup
Applying Thin Layers
For a smooth finish, apply light and even coats of paint. Gradually spray an additional coat as needed. Avoid spraying too much paint at once, which might result in drips and runs.
Several thin coats give better results than one single thick coat of paint. Always allow enough drying time between each spray.
Holding the Spray Can
When spraying the cup using a spray can, maintain uniform distance and speed throughout the process. Hold the cup at least 6 to 8 inches away from the cup and keep this distance throughout the process.
Move the spray can in smooth, swift, sweeping motions for even coverage. Spraying too close to the cup or over-spraying one section results in pooling and an uneven finish.
How To Seal A Painted Yeti Cup
Allowing Sufficient Drying Time
Allow enough time for the paint to dry before using the cup. The paint manufacturer will specify the time for the paint to dry.
The cup should be dry in a few hours, but curing may take up to 24 hours. Please do not touch or clean the cup until it is completely dry.
Applying a Protective Clear Coat
Choose a coat that is designed for sealing. The coat, once applied, serves as a layer of protection. It ensures that the spray paint adheres to the cup for longer by boosting the durability and longevity of the coatings beneath it.
Additionally, the paint maintains the glossy/smooth finish of the cup by preventing chipping or scratches on the surface of the stainless steel tumbler.
Curing the Paint
Curing paint when painting your mug is optional. However, it is a crucial step, especially if you want to lengthen the durability of the paint on the Yeti cups.
Always follow the manufacturer’s instructions in such instances. Place the painted cup in a preheated oven. Allow the cup to bake at specific temperatures in the oven for a given period until the paint dries.
Manufacturers will highlight this for you. Ensure you adhere to the instructions to avoid damaging the cup or spray paint.
Best Spray Paints for a Yeti Cup
1. HIMI Gouache Paint Set
The Himi Gouache paint set comes with 24 colors, each 30ml, 6 pcs paint brushes, and two frosted canvas boards. The collection includes:
- One white gouache paint refill(100ml)
- Moisturized mildew gouache spray(100ml)
- Two pencils
- One eraser
- One paint knife
- Two desktop buckets
Gouache paint consists of natural pigment, water, and a binding agent, usually gum Arabic or dextrin, designed to be used with opaque painting methods. It is perfect for commercial artists on posters, illustrations, and other design work.
Like watercolor, Gouache can be re-wetted and dried to a matte finish. Like acrylic or oil paints, it is usually used in an opaque painting style and can form a superficial layer.
You can start painting immediately after purchase as it requires no pre-preparations. Each paint has a fantastic thick consistency which retains brush or spatula marks and gives your work brilliant texture.
This versatile gouache paint set contains complete art painting supplies making it perfect for students, hobbyists who love painting, and even professional artists.
It is safe and has no toxic components such as xylene and toluene.
2. Esrich Acrylic Paint Set
The Esrich acrylic paint set has 57 pieces of professional painting supplies. It contains paint brushes, Acrylic paint, an easel, canvases, painting pads, a palette, a paint knife, a brush cup, and an art sponge.
The set is made for hobbyists and beginners; the set also has six pieces of blank drawing boards(round and rectangle),10 Page Pad(A4), and a gift box. The vibrant paint colors conform to the ASTM D-4236 certificate and are safe and kid-friendly.
The art canvases and full wood pulp drawing paper are also easy to color. All the painting tools can make you immersed in the process of artistic creation.
The Esrich acrylic paint set provides complete art painting supplies and is perfect for artists, students, teens, kids, and painters of all levels.
These sets are also built to create together with family and children to foster a better parent-child relationship.
How to Care for Your Spray-Painted Yeti Cup
Hand washing vs. Dishwasher
To clean your Yeti cup, it is best that you hand wash it rather than throw it in the dishwasher. Dishwashers use harsh detergents and clean under high temperatures that may damage the paint over time.
Some colors are not dishwasher safe and may leak into utensils. Check if the spray paint is dishwasher safe first.
Do not soak the cup for too long. Oversoaking and prolonged exposure to water cause the paint to peel off. Always clean the cup immediately after use.
Avoiding Abrasive Materials
Abrasive cleaning damages the painted exterior and causes the natural luster to deteriorate. Use a soft cloth and mild soap instead of abrasive cleaning detergents, chemicals, or scrubbers with tough bristles.
Maintaining the Longevity
Always ensure the cup is completely dry after cleaning. Use a soft cloth to wipe off any moisture. Water trapped between the cup and the coats of paint creates bubbles in the paint and causes it to start peeling.
Do not expose the cup to extreme temperatures or open flame, which may affect the paint’s integrity. Overexposure to sunlight fades out the color and causes it to crack.
On the other hand, extreme cold affects the paint’s adherence to the cup’s surface.
Handle the cup carefully and avoid dropping it or subjecting it to rough handling, resulting in chips and cracks in the paint.
How to Seal A Tumbler with Mod Podge
Requirements
- Mod Podge
- Soft Brush
- Soft Cloth
Procedure
Dip the brush in the mod podge and apply a thin coat on the surface of the cup. Ensure you cover all the areas/sections you want to seal off, working from top to bottom.
Use the soft brush to smooth out the mod podge on the surface.
Let the mod podge dry completely.
You can apply additional coats and leave the cup to dry. A few coats are enough.
Cure the mod podge in an oven as per the manufacturer’s instructions.
Once dried and cured, sand and smooth any rough areas and dust with cloth.
FAQ – How to spray paint a Yeti cup
Is spray coloring a Yeti cup safe?
Yes, but you need to ensure that no paint settles on the inside of the cup during application. Cover the opening with painters tape.
Can I use chalk paint on a Yeti cup?
Absolutely. You can use chalk paint on your Yeti cup. It has better coverage and strong adhesion properties and is safe outdoors and indoors.
How long does the paint last on a Yeti cup?
Depending on the type of paint you choose, some colors last longer than others. Also, safe handling of the cup after the spray paint job affects its longevity on the cup.
How do I change the color of the stainless steel cup?
You can color it at home using spray paint or acrylic paints. Follow the correct procedure and use high-quality spray paints and acrylic paints for the Yeti cup for great results.
Can you drink out of a spray-painted cup?
Yes. However, the spray paint should only be on the cup’s exterior, not the interior. Make sure no spray paint gets inside the cup when coloring.
How do you hydro-dip a Yeti cup with spray paint?
Hydro dipping is simple. Add your spray paint into a bucket of water and dip the Yeti cup for some great details and patterns. The procedure should be carefully and correctly done.
What is the main difference between an Ozark Tumbler and a Yeti Tumbler?
A Yeti mug is dishwasher safer, while an Ozark tumbler isn’t.
Summary – Spray Painted Yeti Cup
Spray painting a Yeti cup can be fun and rewarding, allowing you to personalize your cup to match your style or create a unique gift for a loved one.
Following our step-by-step guide, you’ll know how to paint a yeti tumbler and achieve a professional and long-lasting finish on your yeti cup.
Remember to take your time, be patient, and always prioritize safety.
Grab your craft supplies and unleash your creativity on your favorite Yeti tumbler, transforming it into a beautiful piece for you and your loved ones.